
The group functionality allows you to manage and control users within the system. As part of the group creation process, you add users (members) to the group. This guide will lead you step-by-step through the process of creating a new group.
Table 1: Online User Guide – Overview
Welcome to the online user guide for managing groups in the system. This guide will walk you step-by-step through the process of creating a new group and adding members to it.
Creating Groups
To create a new group, follow the steps below:
- Go to the Main Screen and select Settings > Groups.
- The Groups page will open.
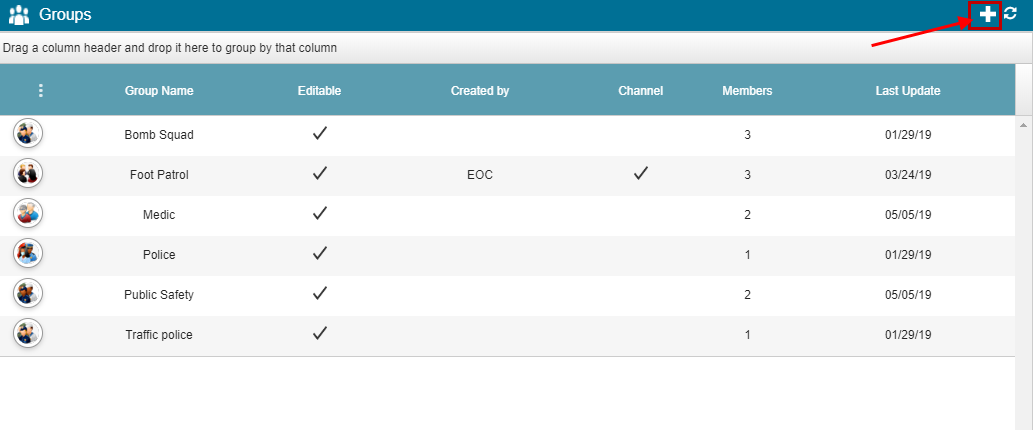
- Klik op het + teken in de rechterbovenhoek van de pagina Groepen.
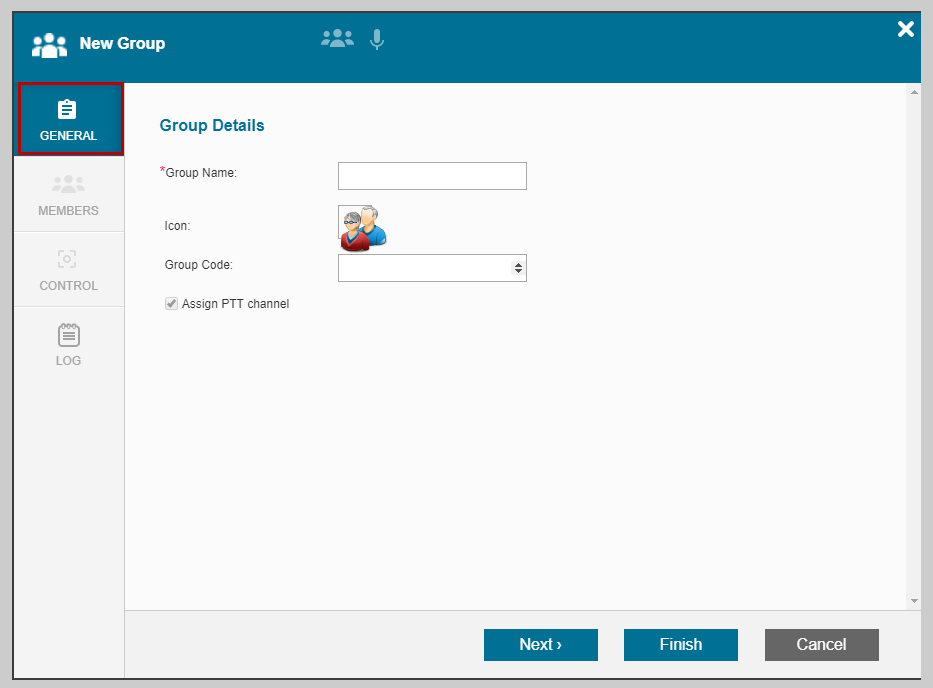
- The New Group wizard will open.
- Definieer de Groepsdetails in het tabblad Algemeen.
- Group Name: The name of the new group.
- Icon: Click the icon button and select an icon that best suits the group you have created. If you cannot find a suitable icon, you can upload new icons to the Icon Bank. (Refer to the guide “How to Add and Manage Icons” for more information.)
- Group Code: (Optional) For organizations that use codes for their groups/departments.
- Assign PTT Channel: Select the checkbox if you want this group to have its own assigned PTT channel. This checkbox is grayed out and selected by default. In the future, you can decide whether or not to assign a PTT channel to the group.
- Click Next.
Defining Group Details
To define the group details, follow these steps:
- Selecteer het tabblad Leden.
- This tab allows you to add users as members to the group. The “Add User” textbox acts as a filter for all users in the system. Start typing the name of the user you wish to add to the group. As you type, names will be added to the dropdown list.
- In the Members textbox, start typing the name of the member you wish to add to the group.
- The list filters itself as you type.
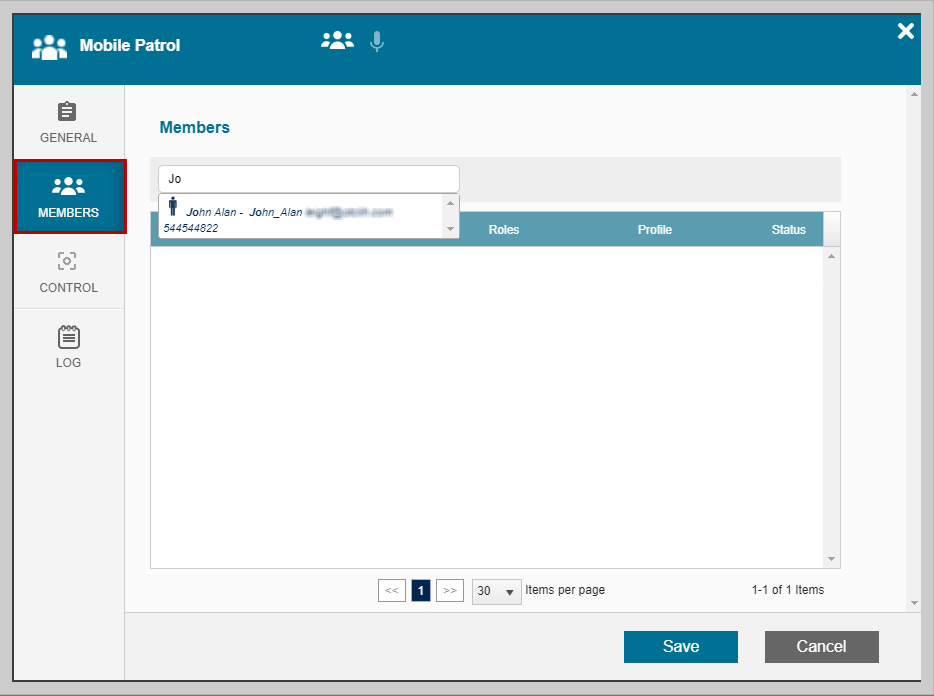
- Select the desired name.
- The name will be added to the list of members in the group. Repeat this procedure for all users you wish to add to the group. As you select each name, it will be added to the list of members in the group.
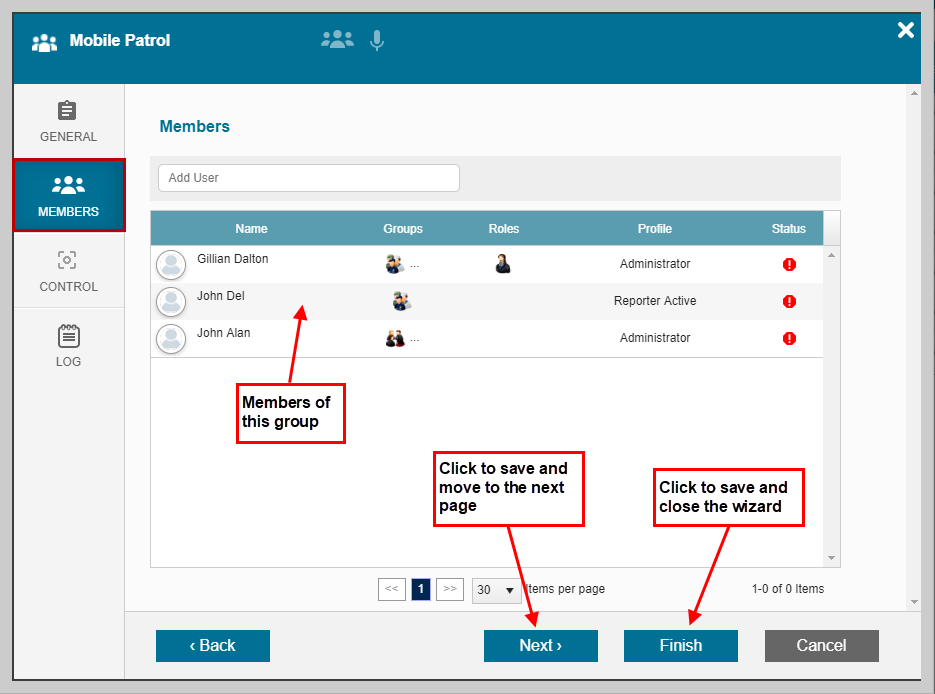
- Click Next.
Completing the Group
To complete the group, follow the steps below:
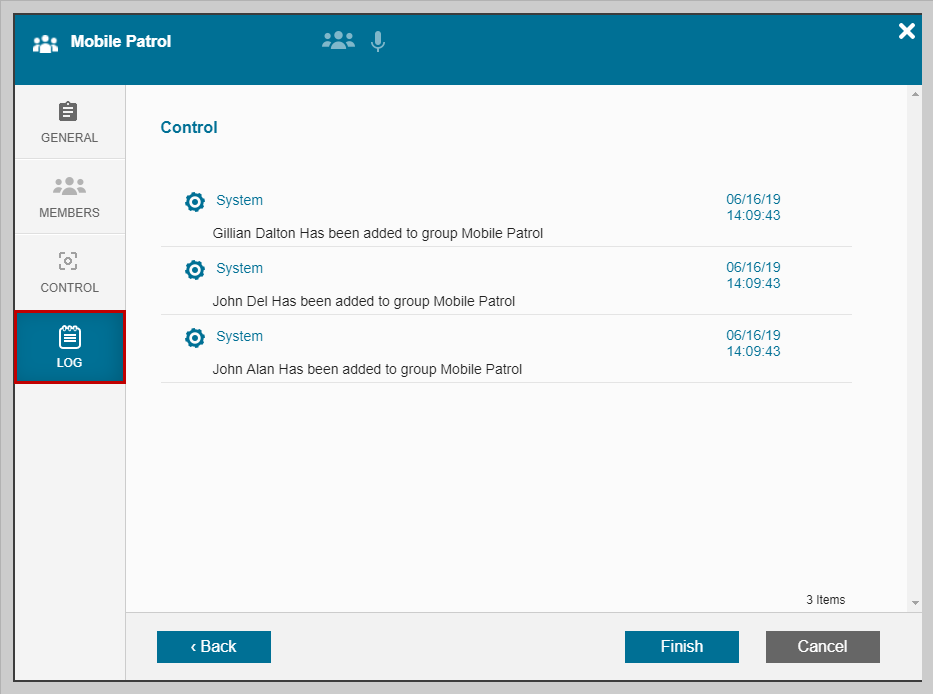
- Click Next.
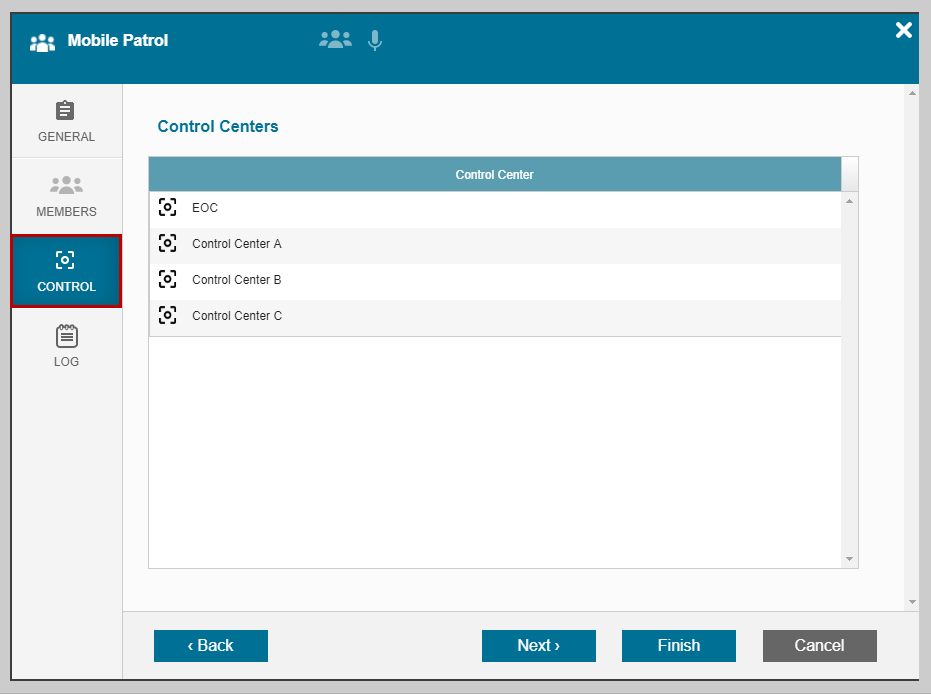
- Click Finish.
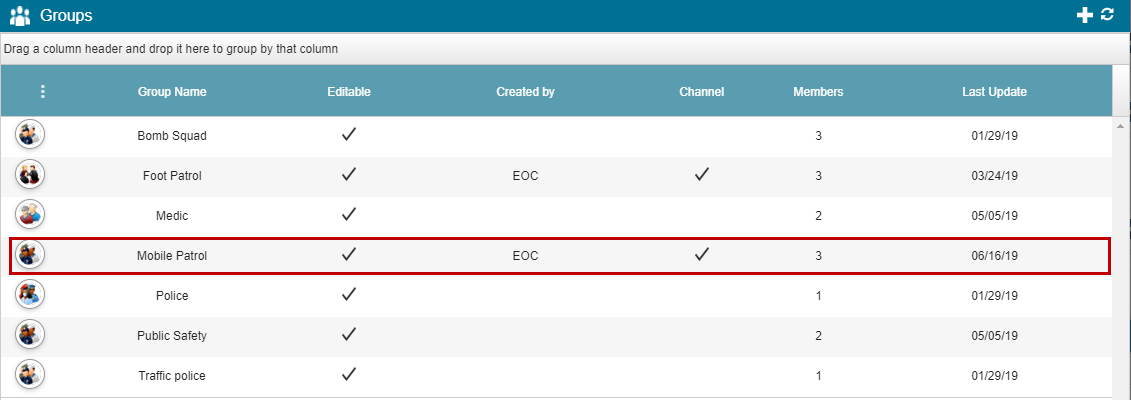
- The new group has been added to the list of groups.
This concludes the online user guide for managing groups in the system. Follow these steps to successfully create a new group and add members to it. If you require further assistance, please consult our comprehensive online resources or contact our customer service.
Linked Mentions